
 If I wasn’t blogging about life and parenting after loss, I’d likely be blogging about craft and/or fashion. Both are things I love and both seem trivial in the face of losing my son. However, they do remain a part of me. I cannot let the greatest loss of my life take away the little things. Craft and creating allows me a closeness to Xavier and tonight I wanted to share a little project with you.
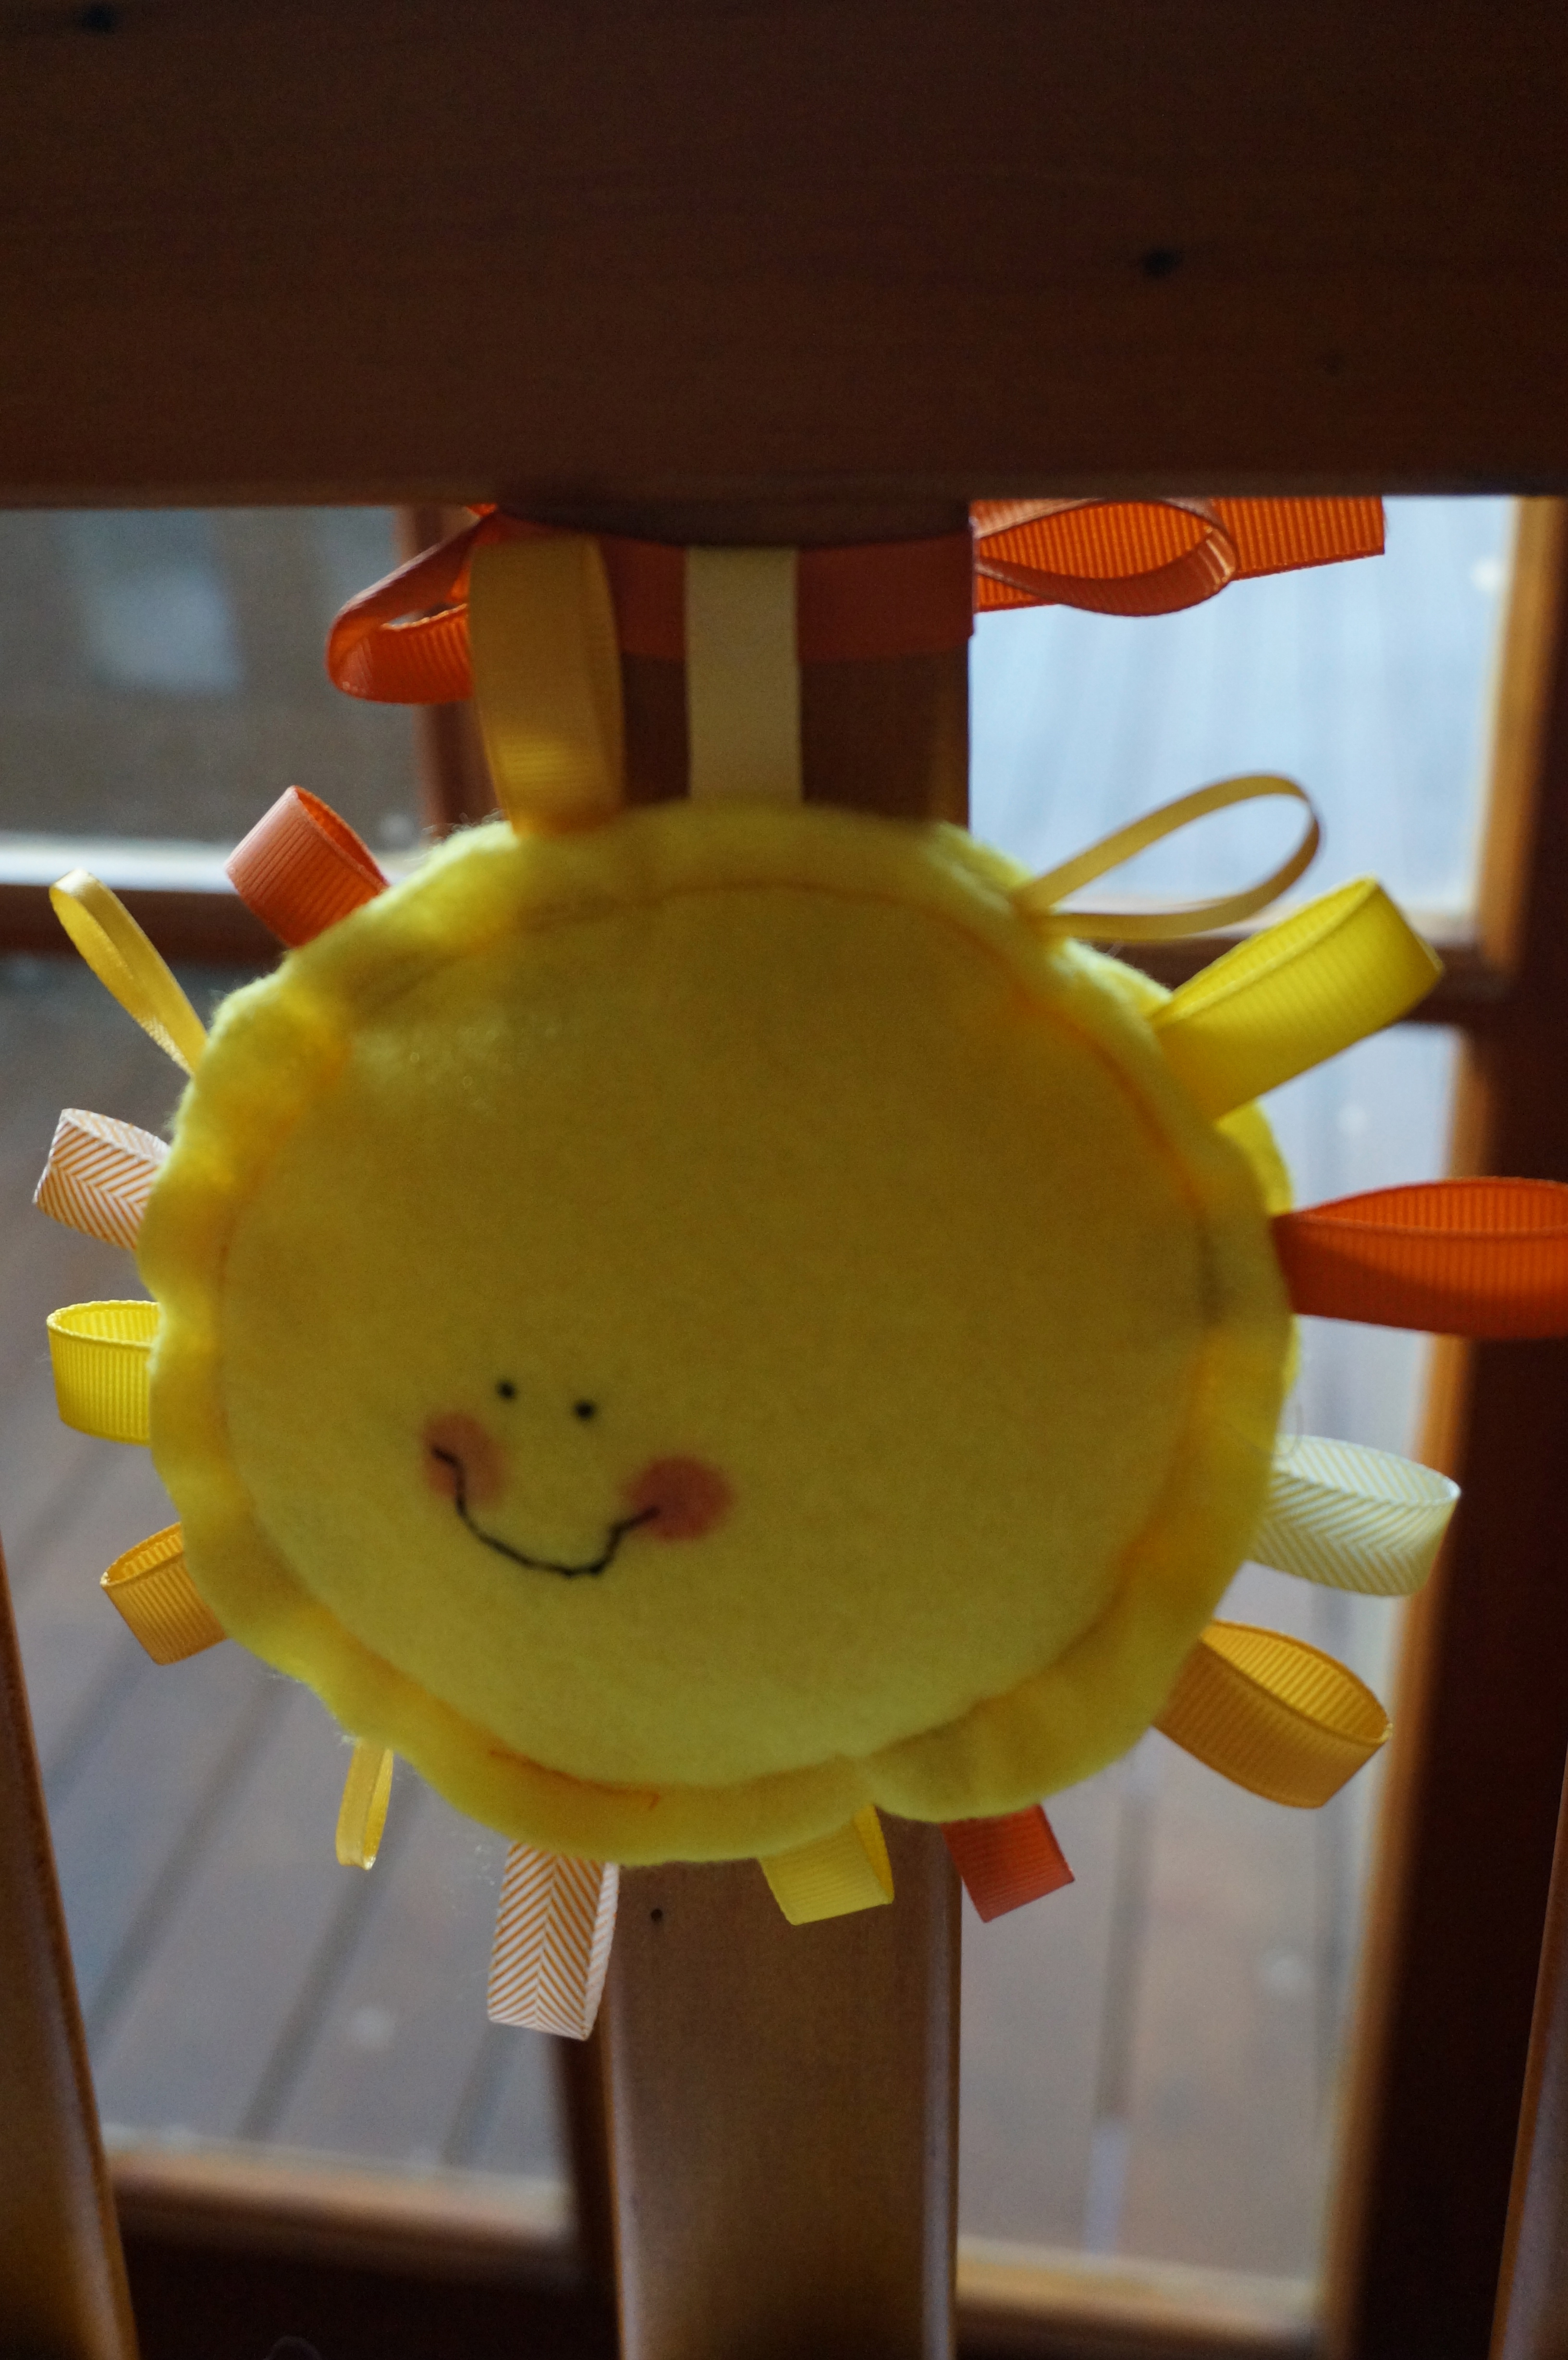
I recently made a little felt sunshine for Elijah and it hangs in his daytime cot. It feels like a manifestation of Xavier looking over Elijah. I liked it so much that I made a few more for friends’ babies. Sharing around Xavier’s sunshine.
If you would like to make one too, here are the instructions:
You will need
- 50cm of yellow felt (you can use other fabrics, but as felt has no nape, you don’t need to worry about finishing the edges)
- A collection of different yellow & orange ribbons
- Orange or yellow thread
- Black thread
- Polly-fill for stuffing
- Scissors, a sewing machine, needle, pins
To Make
Cut out two yellow felt circles exactly the same size. You can use a compass to create a perfect circle, or cut freehand for a more organic shape. Make sure you place a marker, I have used a pin, to show where the two pieces match up.

Cut small strips of ribbon, approximately but not exactly the same length.
Randomly place the ribbon, folded over, around the circumference of one of the yellow circles. Pin in place.

Machine stitch around the circle, securing the ribbons in place.
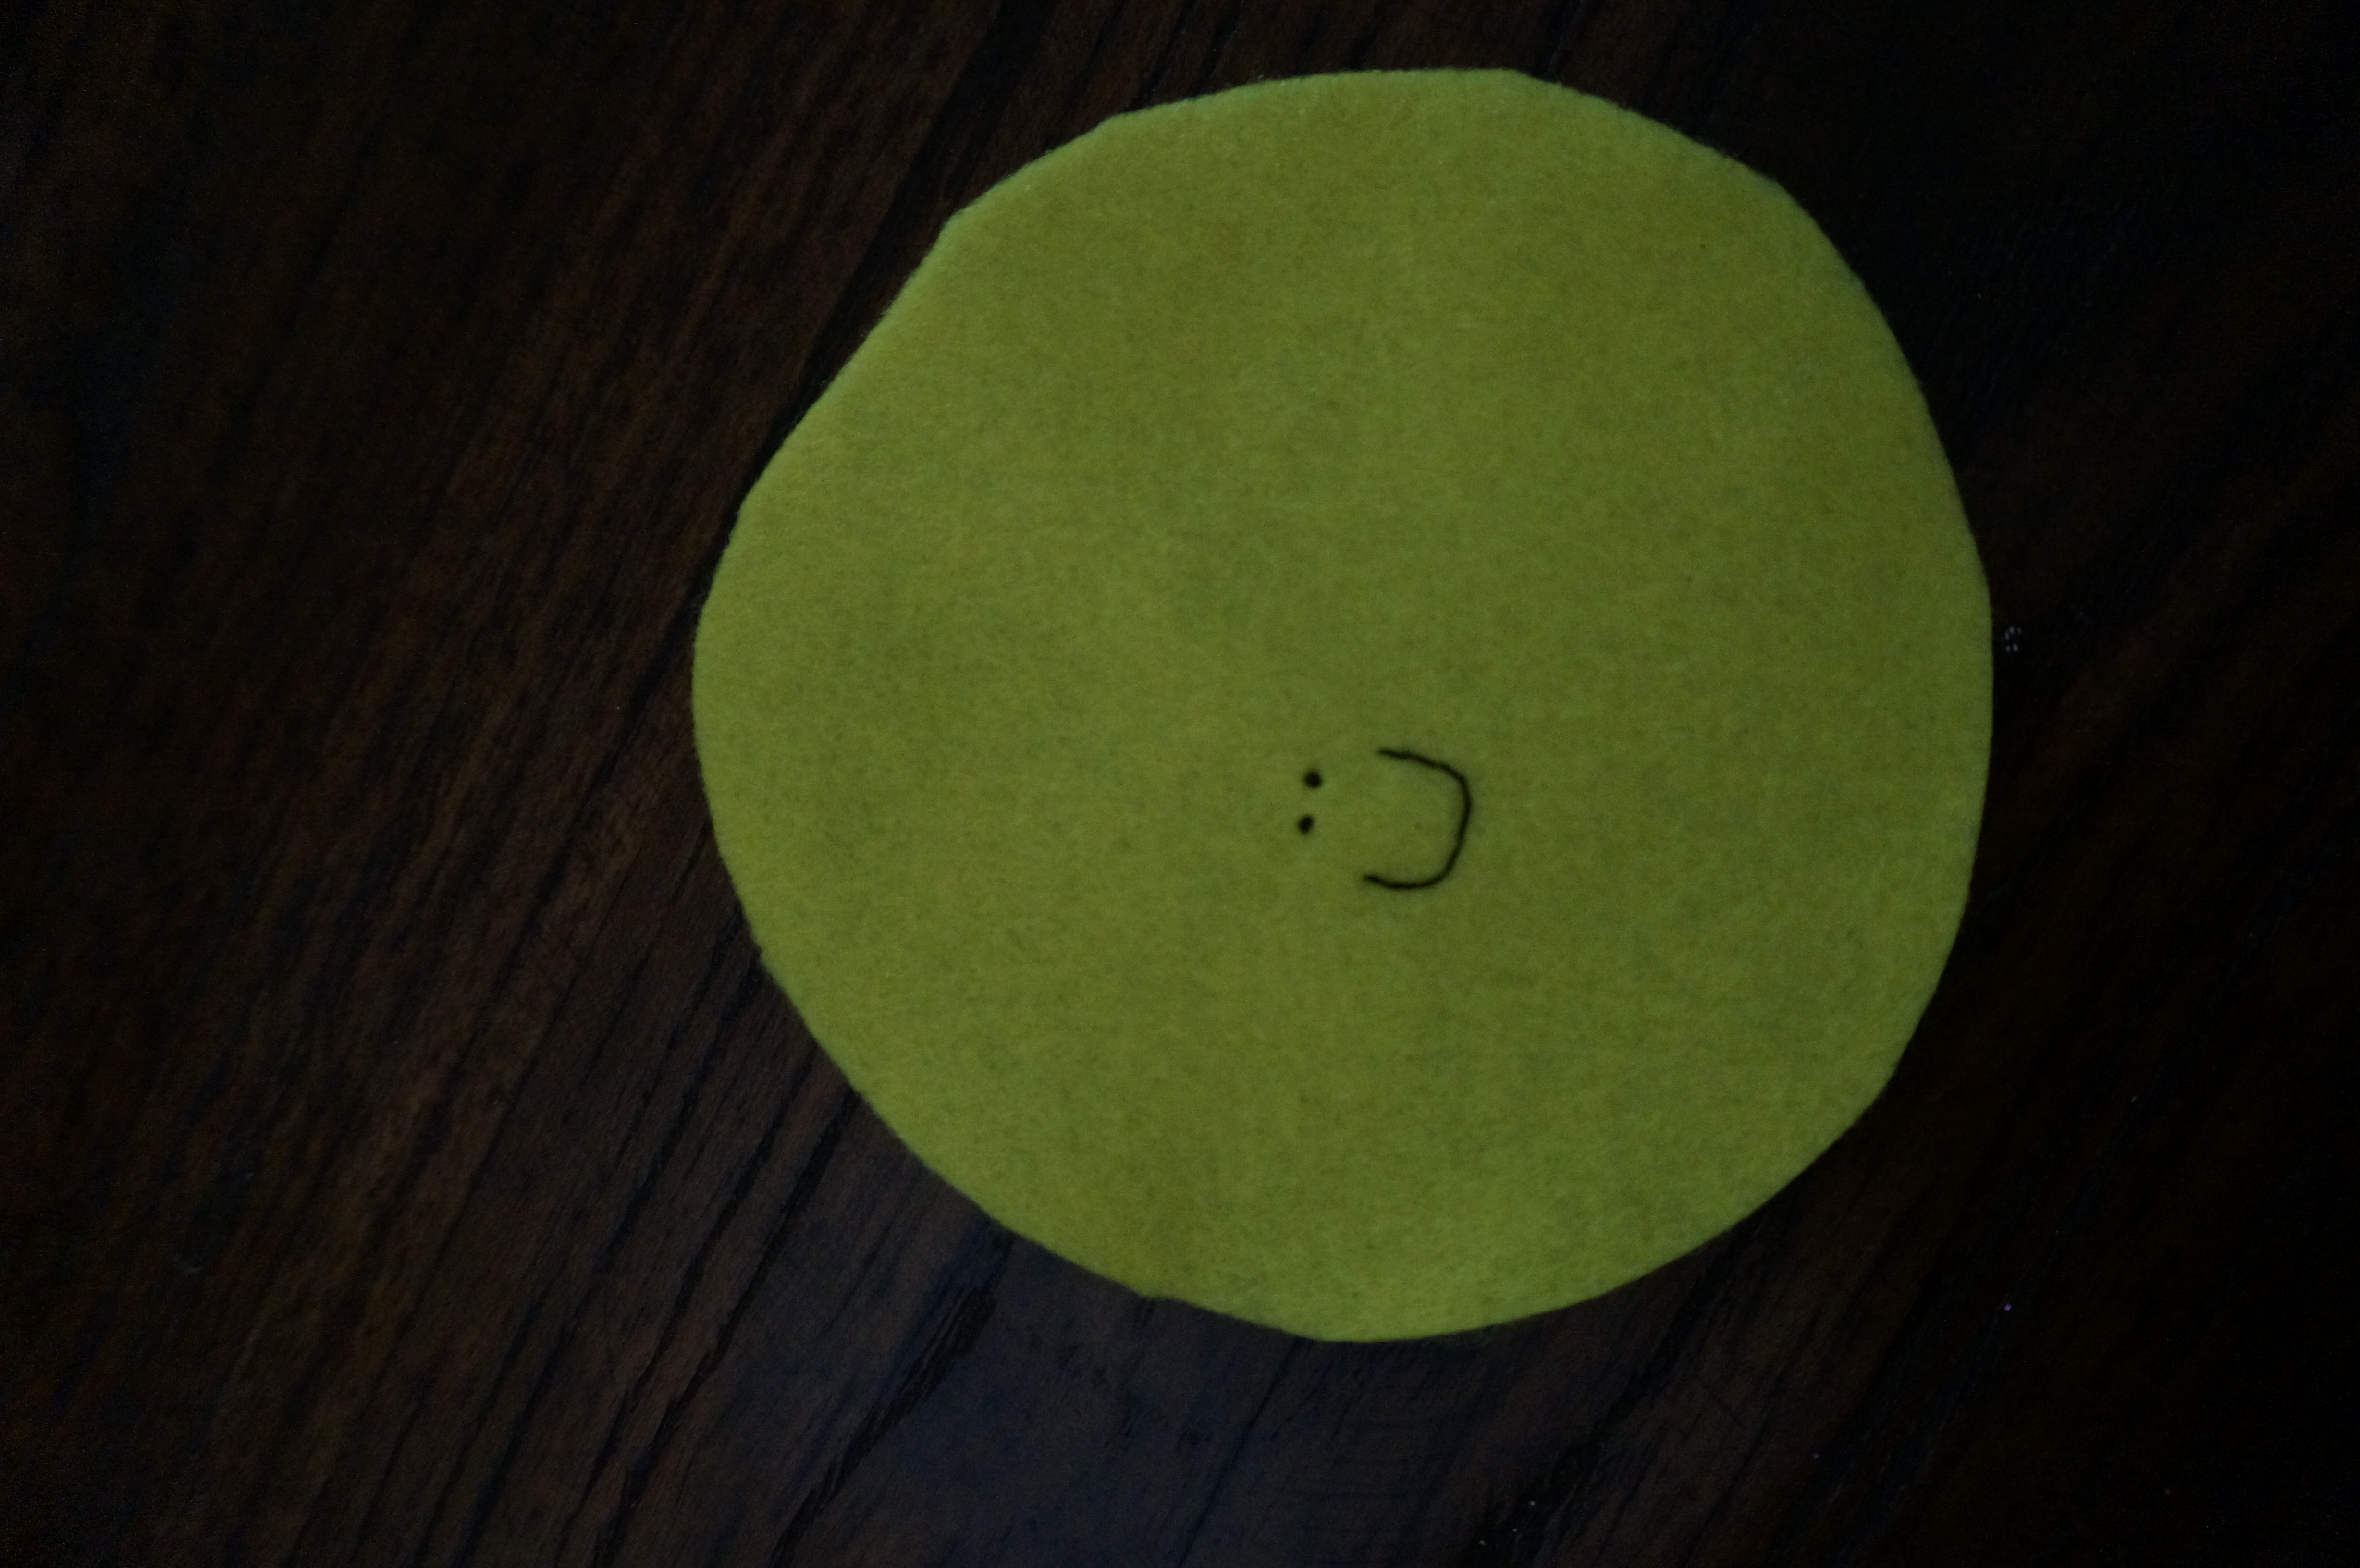
With the black thread, embroider eyes and a smiling mouth on the other piece of felt. I did this freehand, but you could trace it first in pencil or chalk and then stitch over it.
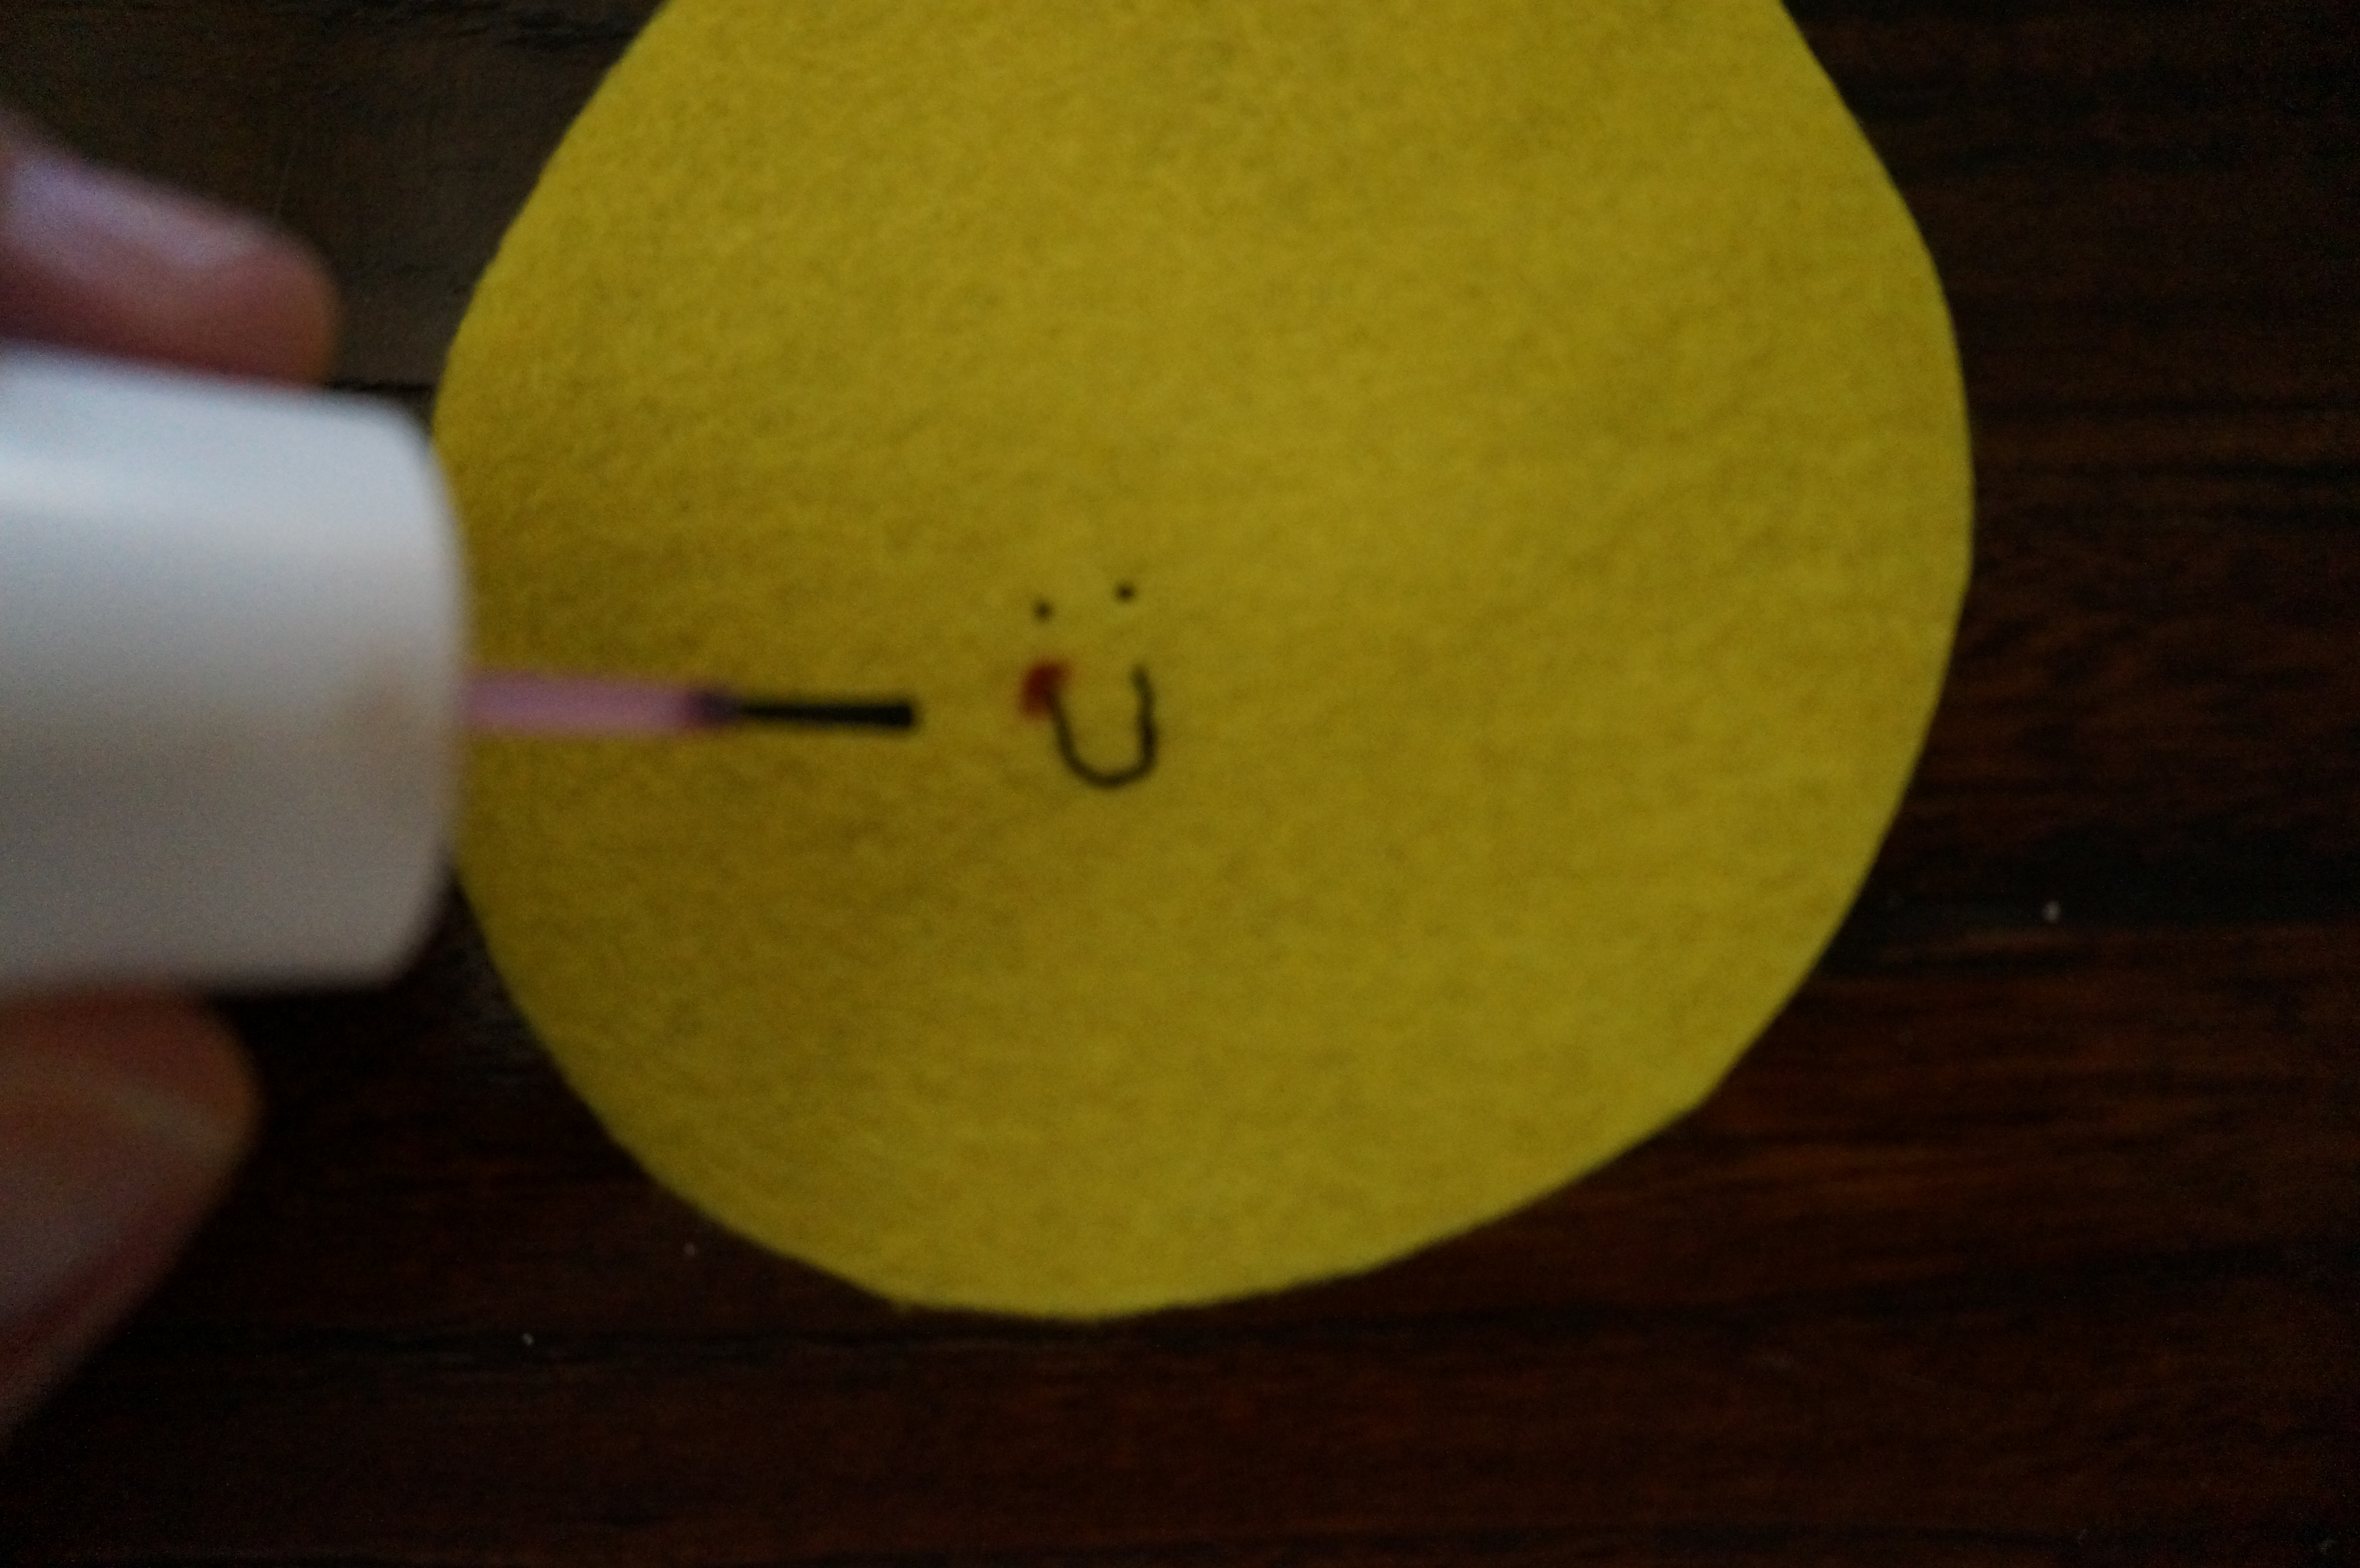
To add a little blush to the cheeks of the sun, I used make-up (specifically benefit benetint)
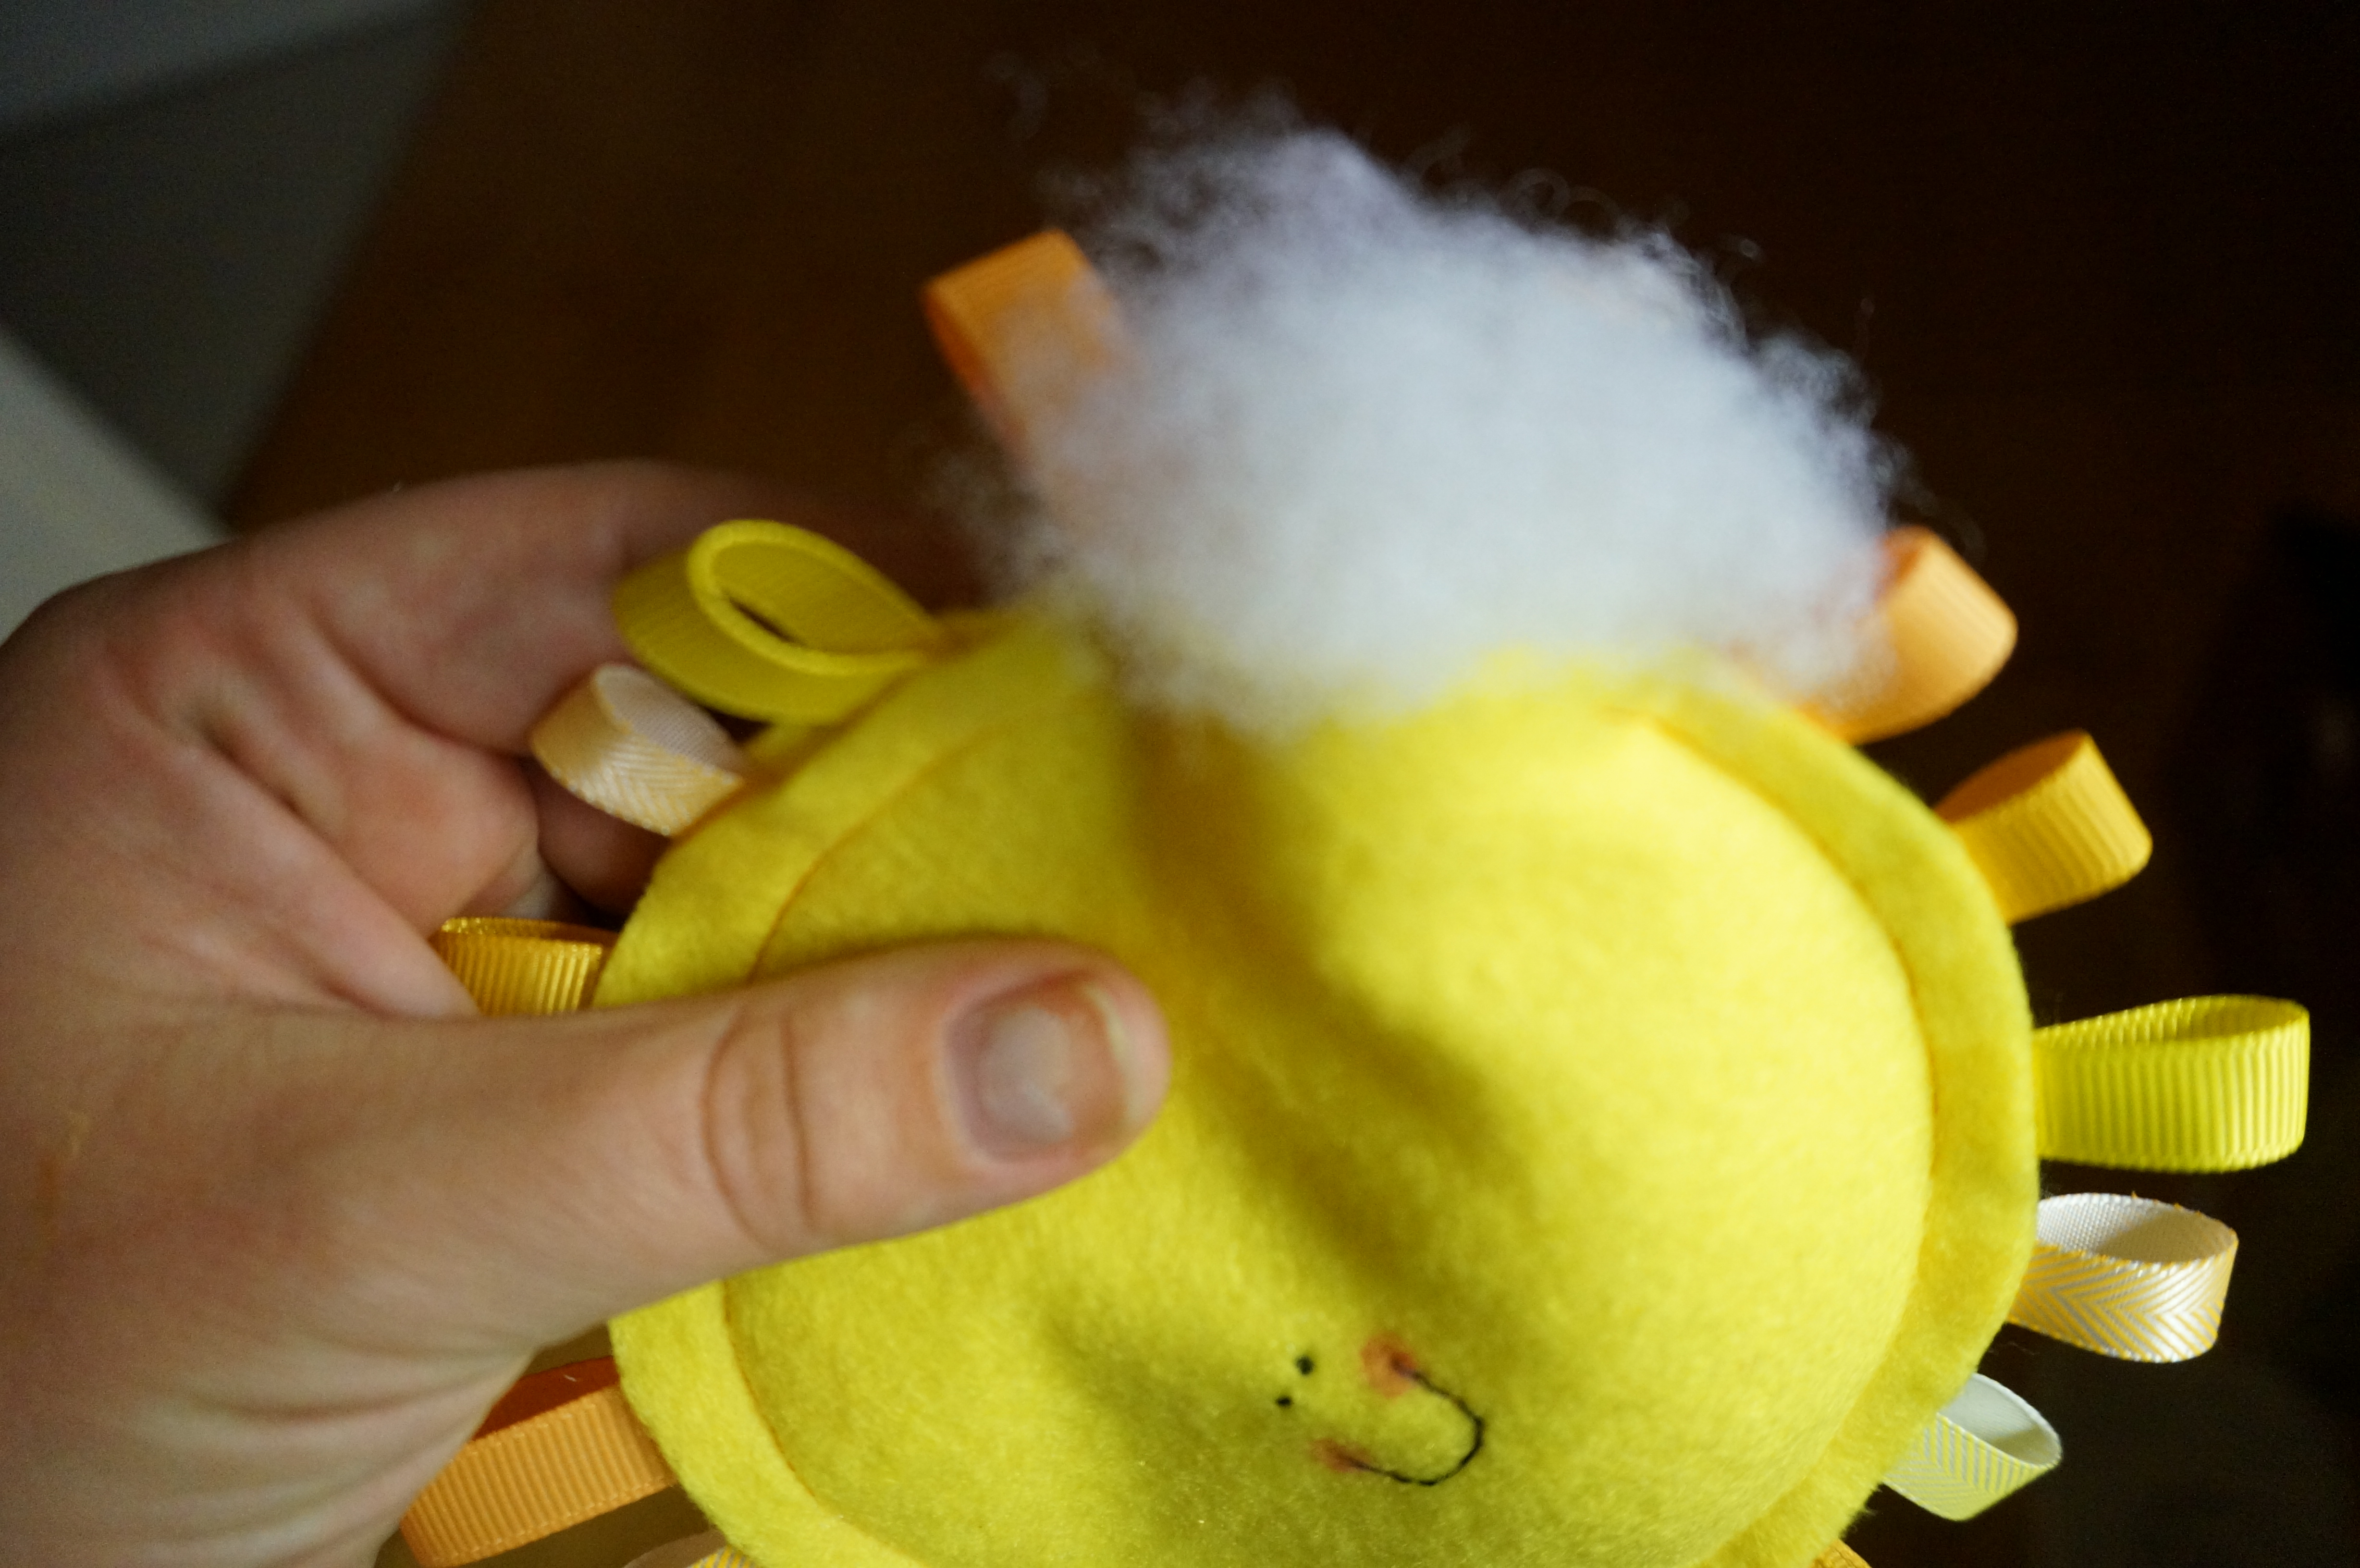
Machine stitch the two pieces of felt together, leaving a small opening.

Stuff the sun with the polly fill.
Machine stitch the opening closed.
Thread a longer piece of the ribbon you have used through one of the loops so that the toy can be secured to a cot, pram etc.
You can make this into a crinkle toy by cutting circles out of an empty baby wipes toy and placing inside the yellow circles prior to stitching them together.
(These wipes are the BEST by the way – you can get them here – Aussie Wipes)
Part of the inspiration for this little cutie came from this blog post – Rainbow Sunshine Plushie
